Server Administration
Note
This section only explains basic administration; specific topics (such as registering a web application as a client, etc.) will be discussed in more detail later.
Additionally, not every administration page is covered here (e.g., User/Set Password, User/Delete User), as these should be self-explanatory.
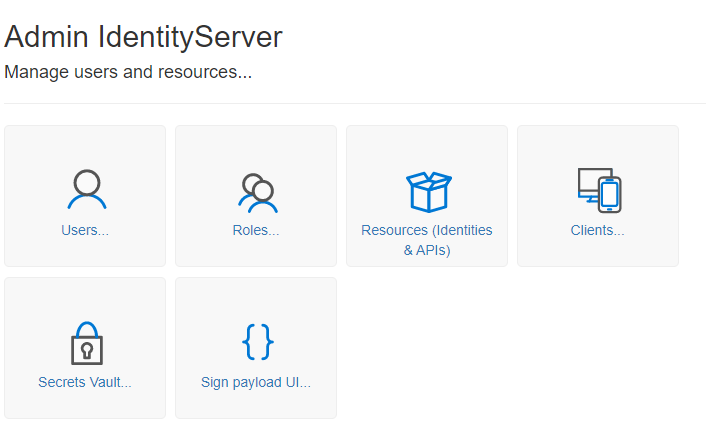
When logged in as an administrator, click on the Admin tile on the homepage to access the following view:
User
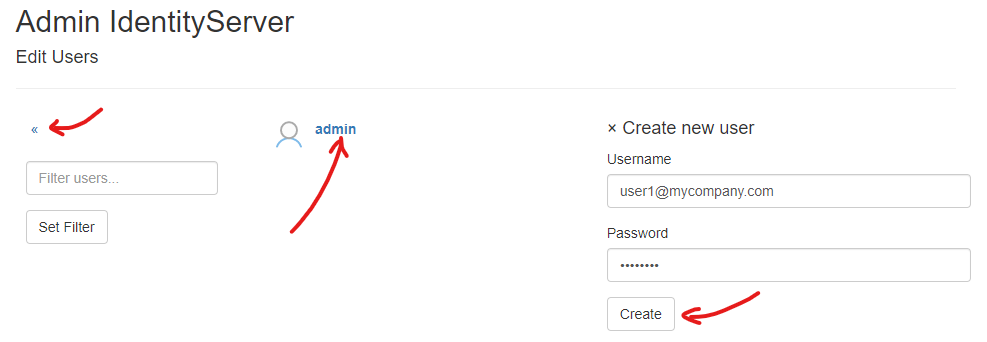
Clicking on the User tile displays the following view:
Note
You can always return to the previous view by clicking the « icon in the menu.
Note
If many users have already been created, the list can be filtered. Enter a filter (e.g., admin) under Filter users... and click on Set Filter. This will display only users with admin in their name. Clearing the input field and clicking Set Filter again will display all users.
Here, you can manage properties from a user’s profile (password, name, roles) by clicking on a user in the list. You can also create a new user by clicking Create new user.
Note
It is recommended to always use an email address as the username here. This should generally be unique.
If the username is an email address, it should usually be confirmed upon user registration. In the test environment, the administrator can bypass this step and mark the email address as confirmed:
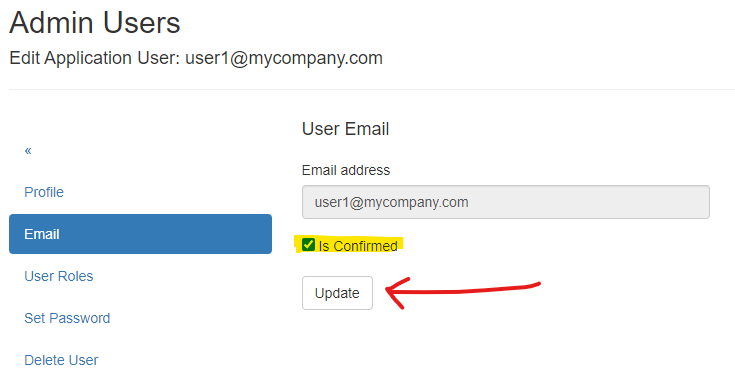
A future login with this user is possible once the email address is marked as confirmed!
Roles
Clicking on the Roles tile takes you to the following view:
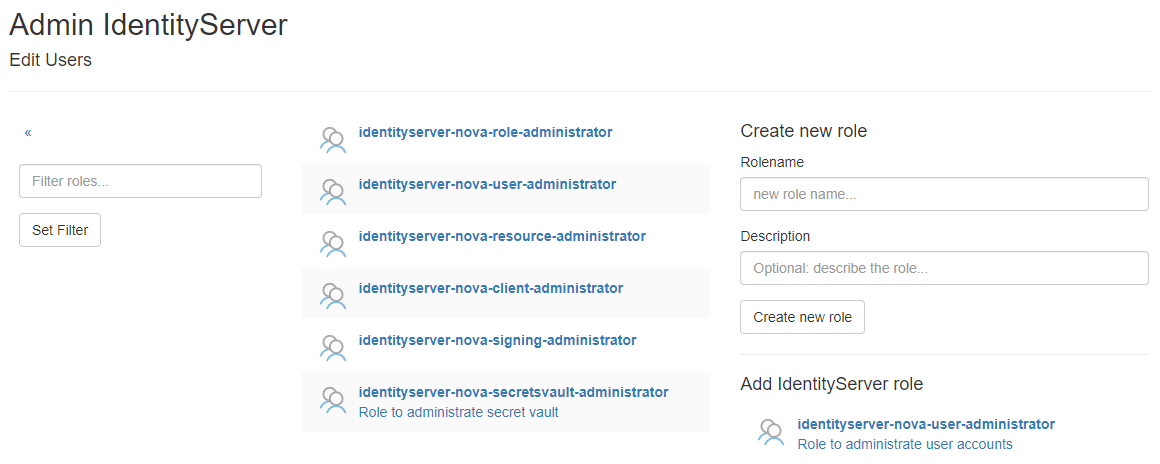
Here, you can manage roles that can be assigned to users. By default, roles from IdentityServerNET are listed here, indicating whether a user
is authorized to perform certain administrative tasks. Custom roles can be created in the Create new role section.
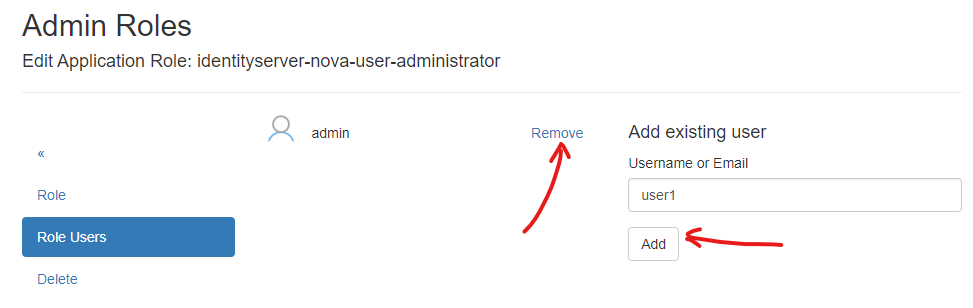
By clicking on a role in the list, various attributes (such as the description) can be modified, or the role can be deleted.
Additionally, users can be assigned to or removed from a role here:
Resources (Identities & APIs)
Clicking on the Resources (Identities & APIs) tile brings you to a view explaining Identity Resources and Api Resources.
Initially, the focus is on Identity Resources, which specify the Claims a client (web) application can request during login.
The settings here apply to the entire server and specify what may be available. Later, when setting up a client, you will specify
which Claims a particular application can request (Scopes), with only the Identity Resources indicated here being available.
Navigating to Identity Resources shows the following view:
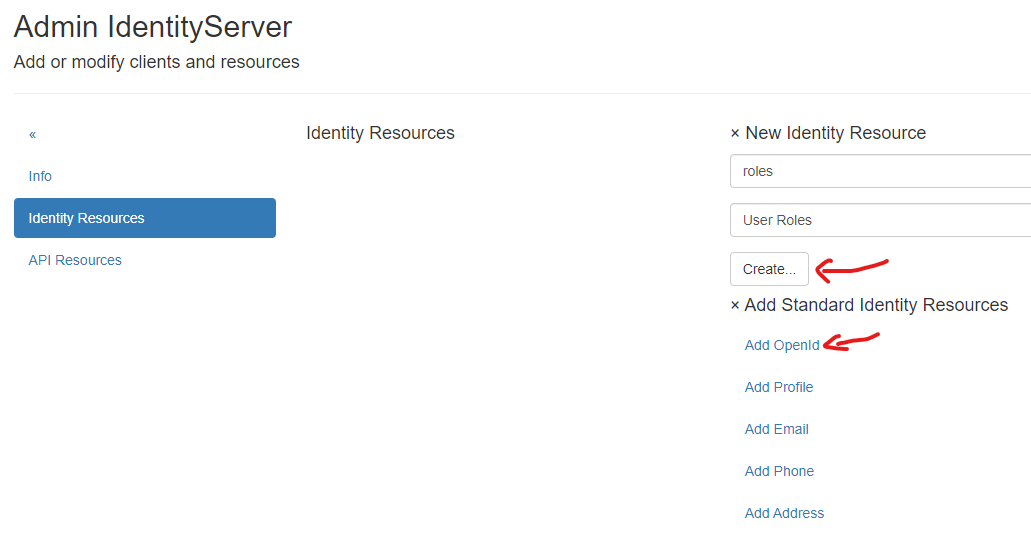
Here, you can create new Identity Resources or add Standard Identity Resources. For the initial setup, it is recommended to add
the Standard Identity Resources OpenId and Profile. If a client application later needs to view the Roles of the logged-in user,
a custom Identity Resource role can also be created:
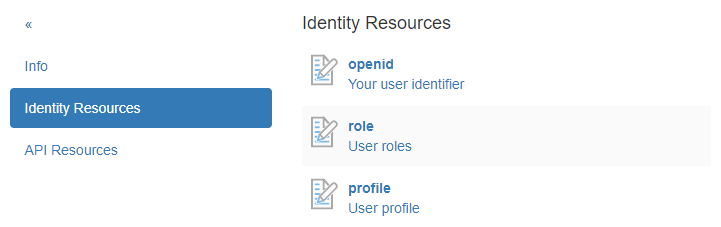
By clicking on an Identity Resource, additional details can be specified, such as the name of the Claim:
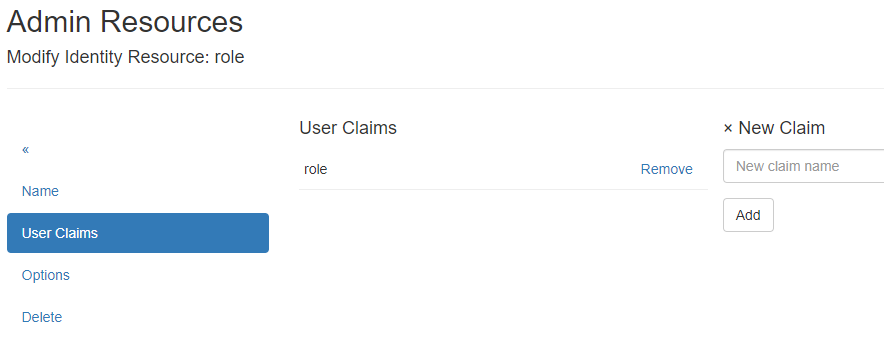
Note
For custom Identity Resources, this page opens during creation. Here, a Claim name must always be assigned first.