Installation on Windows
Note
ASP.NET Core 8.0 must be installed. Running dotnet --info in a command prompt
should display the following framework in the output:
.NET runtimes installed:
Microsoft.AspNetCore.App 8.0.x [/usr/lib/dotnet/shared/Microsoft.AspNetCore.App]
Microsoft.NETCore.App 8.0.x [/usr/lib/dotnet/shared/Microsoft.NETCore.App]
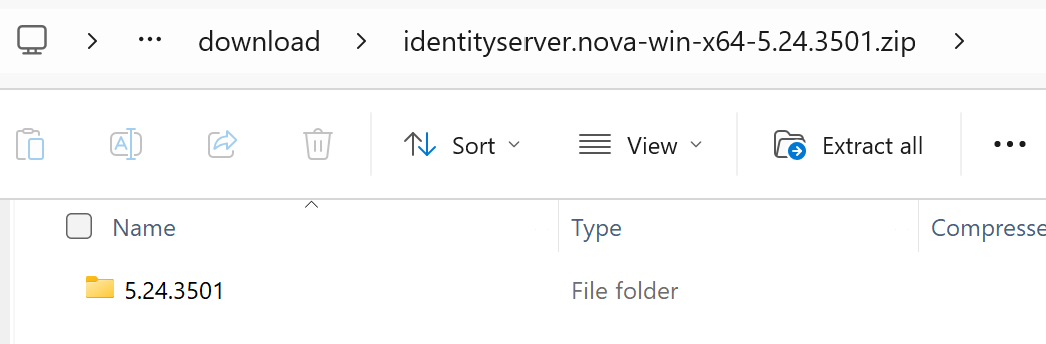
For Windows, ZIP files named identityservernet-win-x64-{version}.zip are available under Releases.
The ZIP file contains a folder named after the version number:
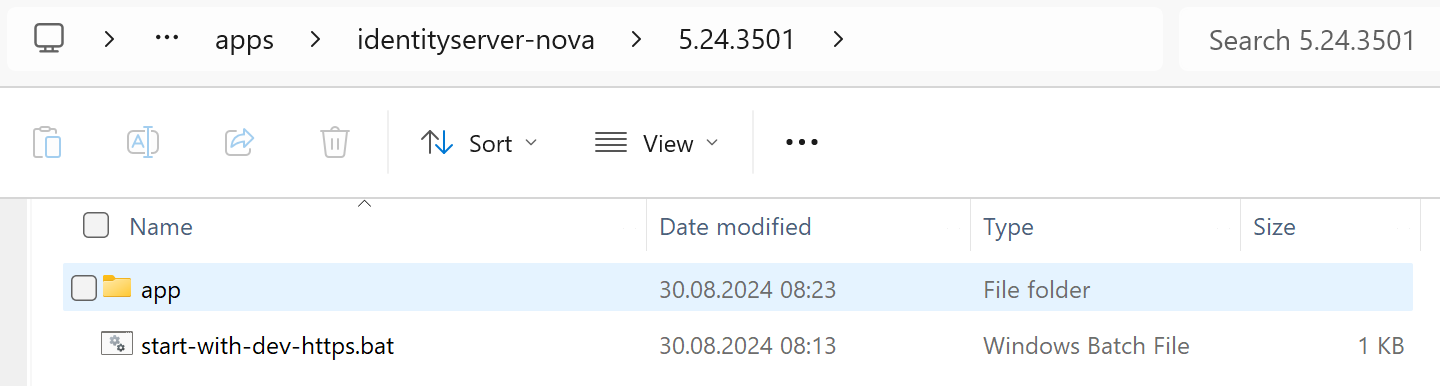
This folder can be copied to any location, for example, C:\apps\identityserver-net. Inside the folder, you will find the application itself
(in the app directory) as well as a bat file to start the application:
Starting the Application Locally
You can start the application locally using the bat file start-with-dev-https.bat.
The application will then be accessible at http://localhost:8080 and https://localhost:8443.
cd .\app
dotnet IdentityServer.dll --customAppSettings=dev-https
Note
The server is started with --customAppSettings=dev-https to load the additional
configuration appsettings.dev-https.json, which specifies ports and a
developer certificate for the HTTPS connection.
For HTTPS, only a developer certificate is used. Since this certificate is not signed by a trusted authority, the browser may display a warning („not secure …“) that can safely be ignored.
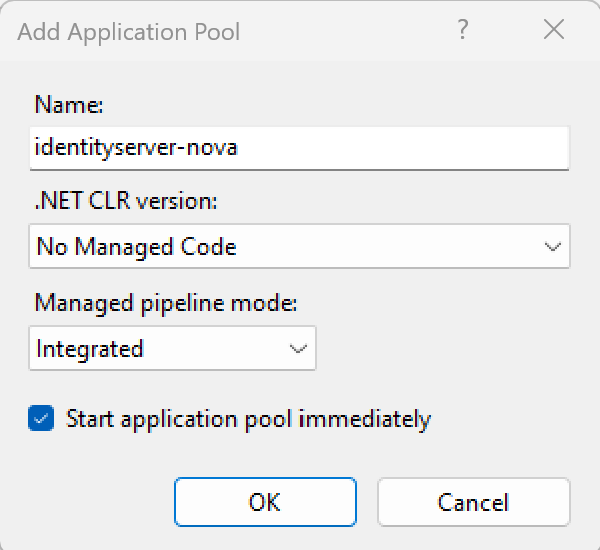
Integrating the Application in IIS
To integrate the application in IIS, first create an ApplicationPool:
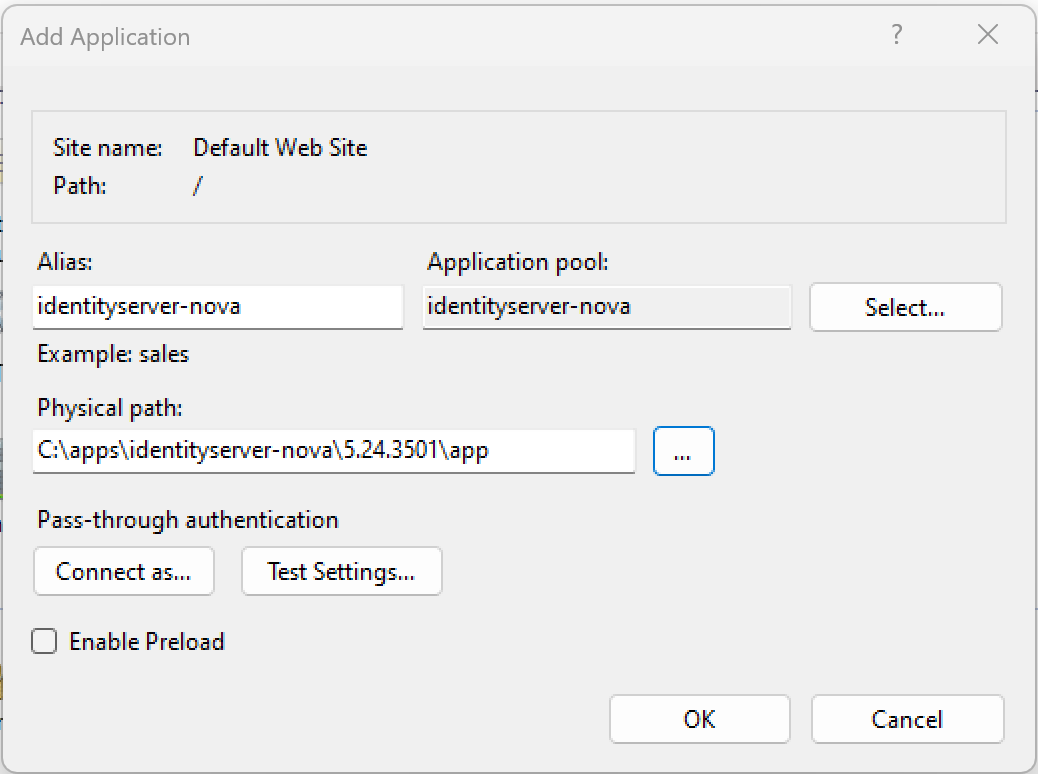
Using this Application Pool, you can now create a new web application.
The physical path should be the app directory: