Add Data
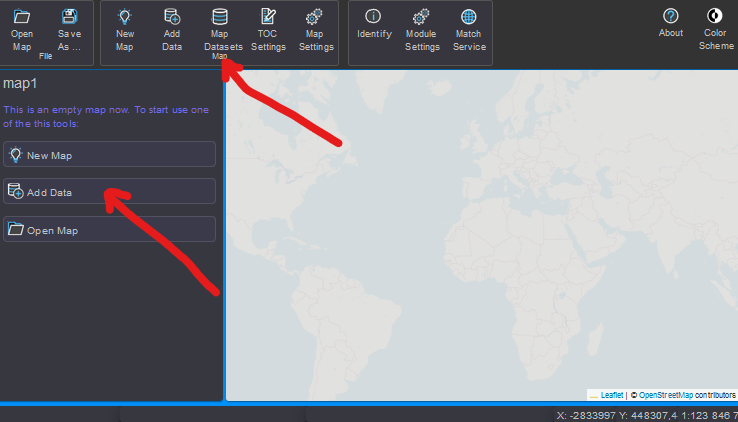
When creating a map, the first step is to add data.
To do this, click on the Add Data button on the toolbar (or on the
quick access button in the TOC area).
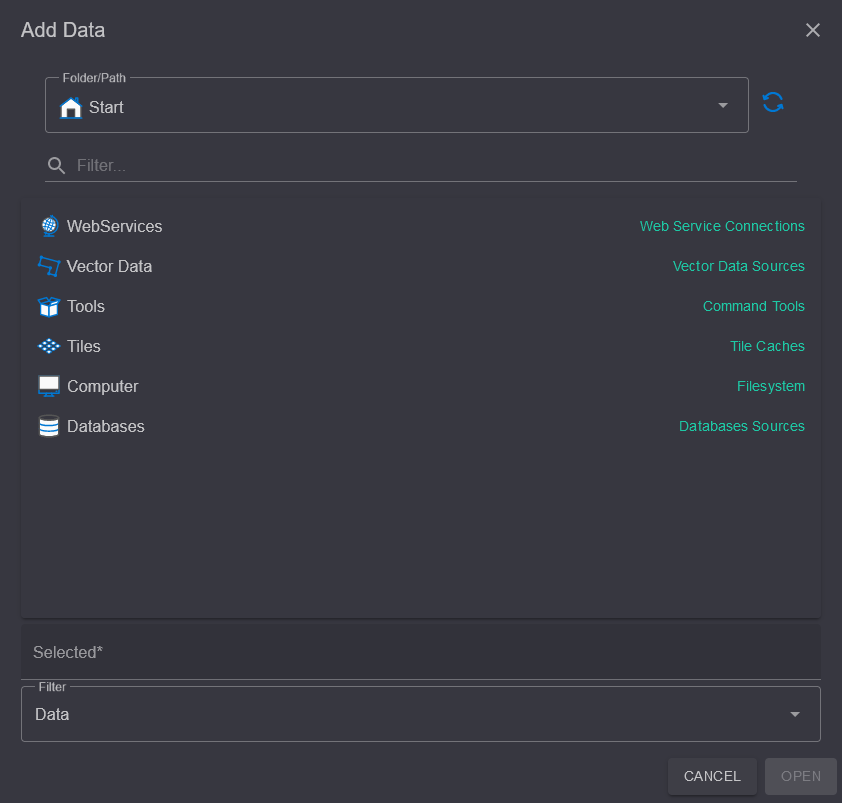
The dialog is similar in navigation to the gView.DataExplorer. Instead of the
tree view of the Data Explorer, here a combo box Folder/Path is available.
The middle part of the dialog corresponds to the content area. However, unlike the gView.DataExplorer,
not all context menus are available here. For example, the gView.DataExplorer must always be used
for deleting and renaming objects.
When first using the application, connections to data sources may need to be set up.
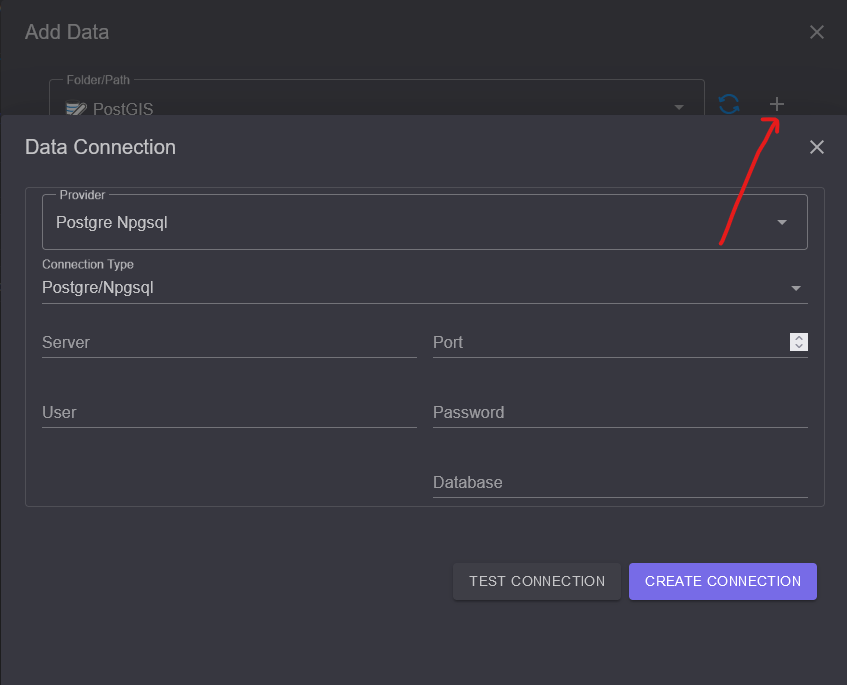
For example, if you want to incorporate PostGIS data (recommended), you must first navigate in the dialog to the Databases folder.
There, under the PostGIS subsection, all saved connections to PostGIS Servers are listed.
If no connections are available, a new connection can be created using the + button next to the Folder/Path
selection field:
Note
The button is only available to Admin Users. Carto Users only have access to connections provided by the Admin.
Before the connection is finalized, it can be verified with Test Connection to ensure
that all settings are correct and a connection can be established.
Once the connection has been successfully created, it can be opened with a double-click.
In the Content Area, Feature Classes or a Dataset can be selected and
then the dialog can be confirmed with OK. This adds the data to the map
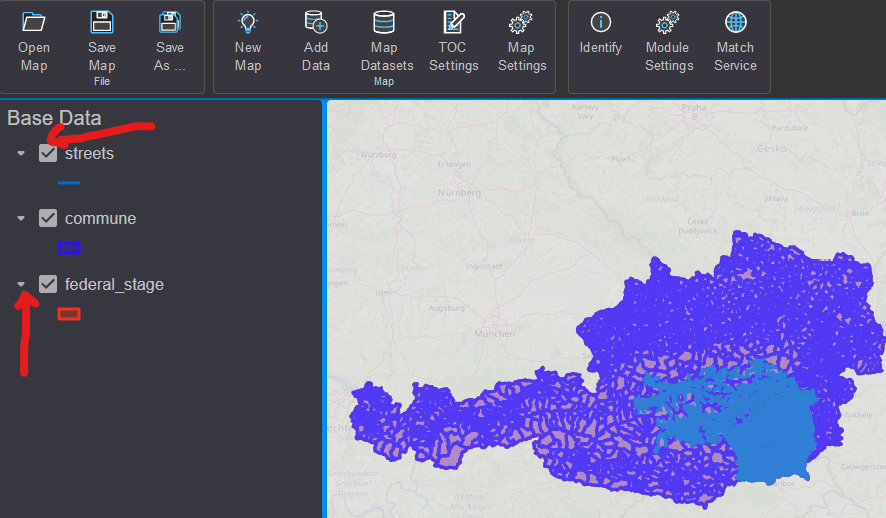
and displays it:
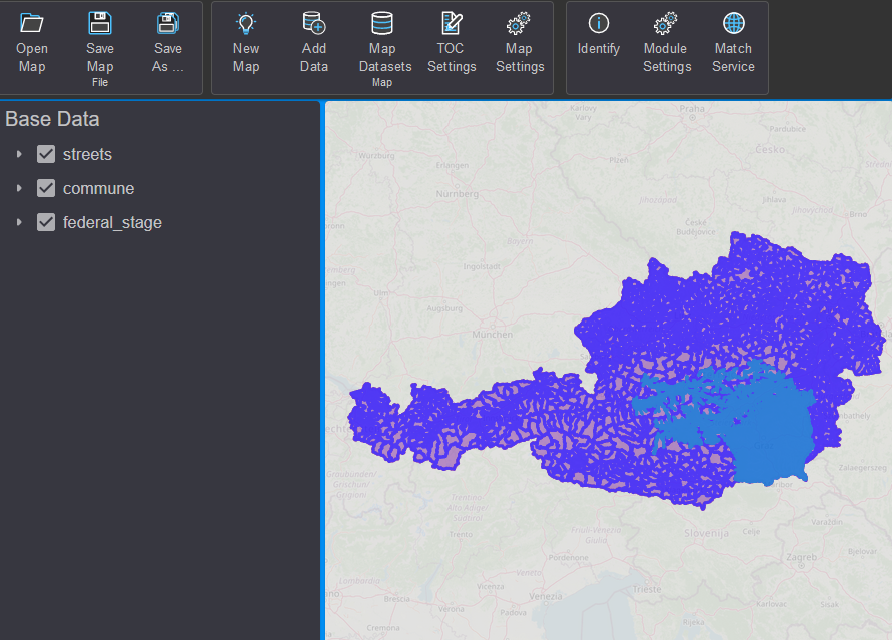
In the TOC area, themes can be made visible or invisible (Checkbox). The Arrow button causes it to expand. Here, the legend is displayed for vector data layers: