Drawing Order/TOC
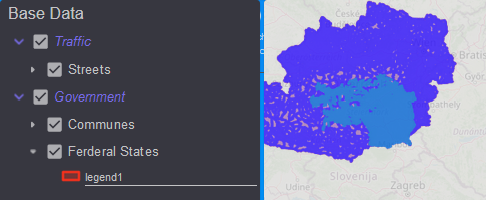
The drawing order of individual layers is visible in the Table of Contents (TOC). The layer at the bottom is drawn first. Thus, the order is from bottom to top.
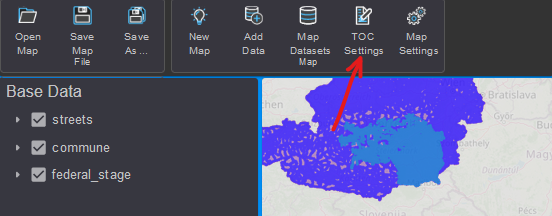
To change the order, click on the TOC Settings button in the toolbar:
This opens the following dialog:
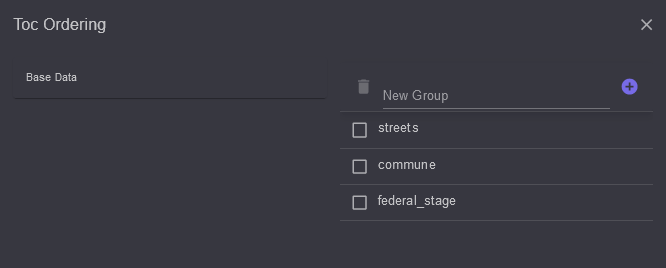
On the left, the Group Area is displayed (here: currently only the map named Base Data). On the right, the layers are shown in the respective order.
Changing Drawing Order
To change the order, drag a layer from the right list with the mouse button held down and release the mouse button at the desired position.
Removing Layers from the Map
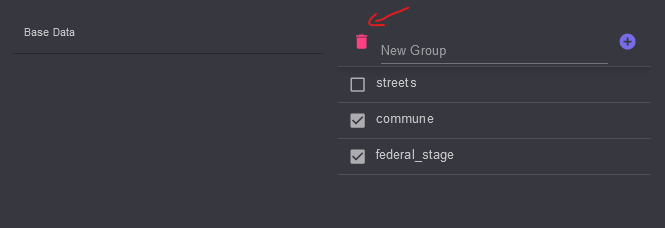
Layers are also removed through this dialog. First, select the layers (right section)
using the checkbox. Then, click on the Trash Can icon at the top.
In this way, multiple layers can be removed simultaneously:
Grouping Layers
Layers can be assigned to a group. This can help logically organize layers. Group layers can also have certain properties that affect all layers within the group (e.g., scale limits, visibility).
To create a new group, enter the name of the group in the New Group field and
then click on the + symbol:
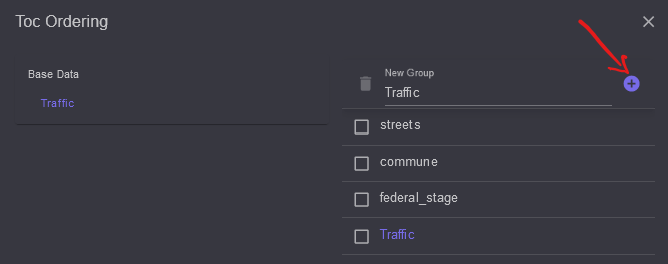
The newly created group layer is now displayed on the left in the Group Area. Since the group is in the current level (directly under the map) it also appears on the right side.
Note
For better distinction, groups are displayed in different colors.
By clicking on the left side, you can select the current Parent Group. Clicking on the new group, no layers are displayed on the right because the group is still empty. To change this, switch one level up (click in the left area).
If the desired layers are displayed on the right side, they can be dragged with the mouse button held down to the new group in the left area. The layer then disappears from the current level. Clicking on the group on the right should now show the layer within it.
Multiple layers can also be moved into a group simultaneously. First, select the layers on the right using the Checkbox. Then, drag a selected layer to the desired group on the left.
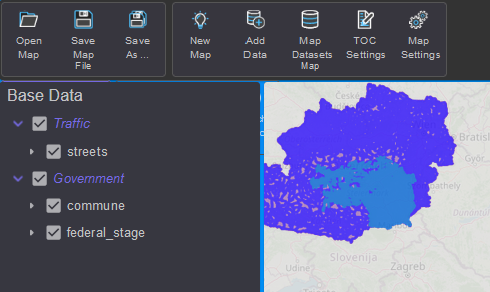
Once you are done with grouping and setting the order, the dialog can be closed
(using the x symbol). Changes should be immediately visible in the TOC:
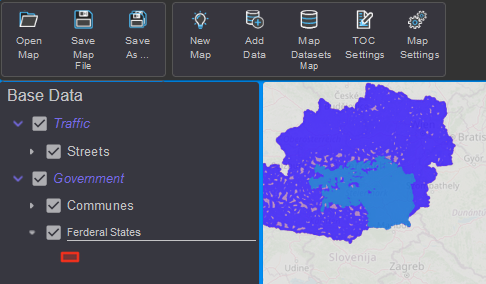
Finally, the displayed names of the layers can be changed. To do this,
simply double-click on the text in the TOC. After entering the new name,
confirm the entry with Enter:
Note
If the symbols in the legend need to be labeled, this can be done in the same way by double-clicking on the area right next to the symbol: