Getting started
Start the app
dotnet run --project src/gView.Pipe.Shell
Open the URL printed in the console. With the http profile that is http://localhost:5240; with the https profile https://localhost:7240. Your administrator gives you the address of an installed instance (see the Admin Guide).
The sample workflows
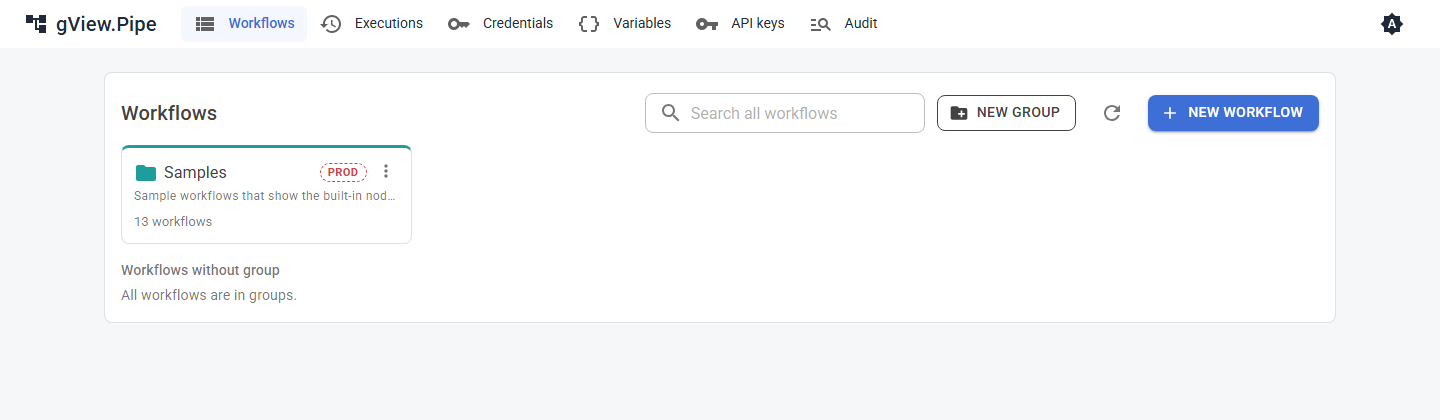
On the first start with an empty store, gView.Pipe copies a set of sample workflows into the group Samples:
| Workflow | What it shows |
|---|---|
| Hello Pipe | A manual trigger, Set and Log. The best first workflow to open. |
| Code Transform | JavaScript, Switch and Merge. |
| Item Tools | Split Out, Remove Duplicates, Sort, Limit and Aggregate. |
| Sub-workflow Demo, Price Calculator | A workflow that calls another one per batch of items. Failures go to Error Alerts, an error workflow. |
| API Demo | A webhook that answers with Respond to Webhook nodes. |
| Webhook Demo | A webhook that answers with a greeting. It is inactive until you switch it on. |
| File Export | Writes orders as CSV and reads them back. |
| Error Mail, Error Teams, Error Slack | Error workflows that send a failure notification. Their sending node is disabled until you set them up. |
Build your first workflow
- On the start page, create a workflow and open it in the editor.
- Add a trigger node from the palette. Manual Trigger is the simplest: the workflow starts when you run it.
- Add more nodes and connect an output port of one node to an input port of the next. Items flow along the connections.
- Click a node to edit its parameters in the side panel. In any text field,
{{ … }}is a JavaScript expression that is evaluated against the current item, for example{{ $json.total * 1.2 }}. - Run the workflow. Each node shows the items it received, the items it produced and the log lines it wrote.
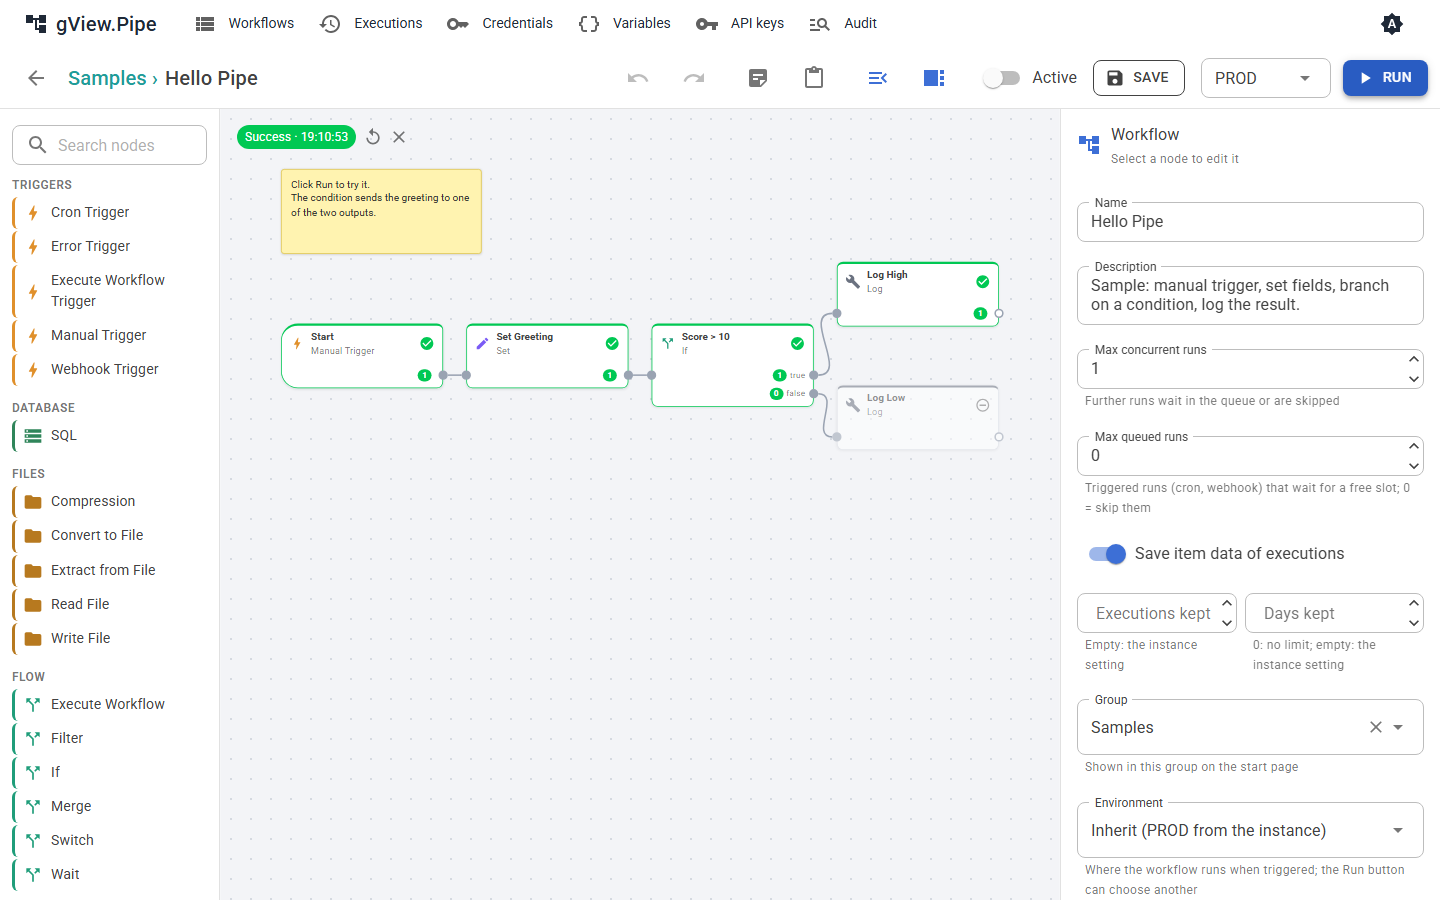
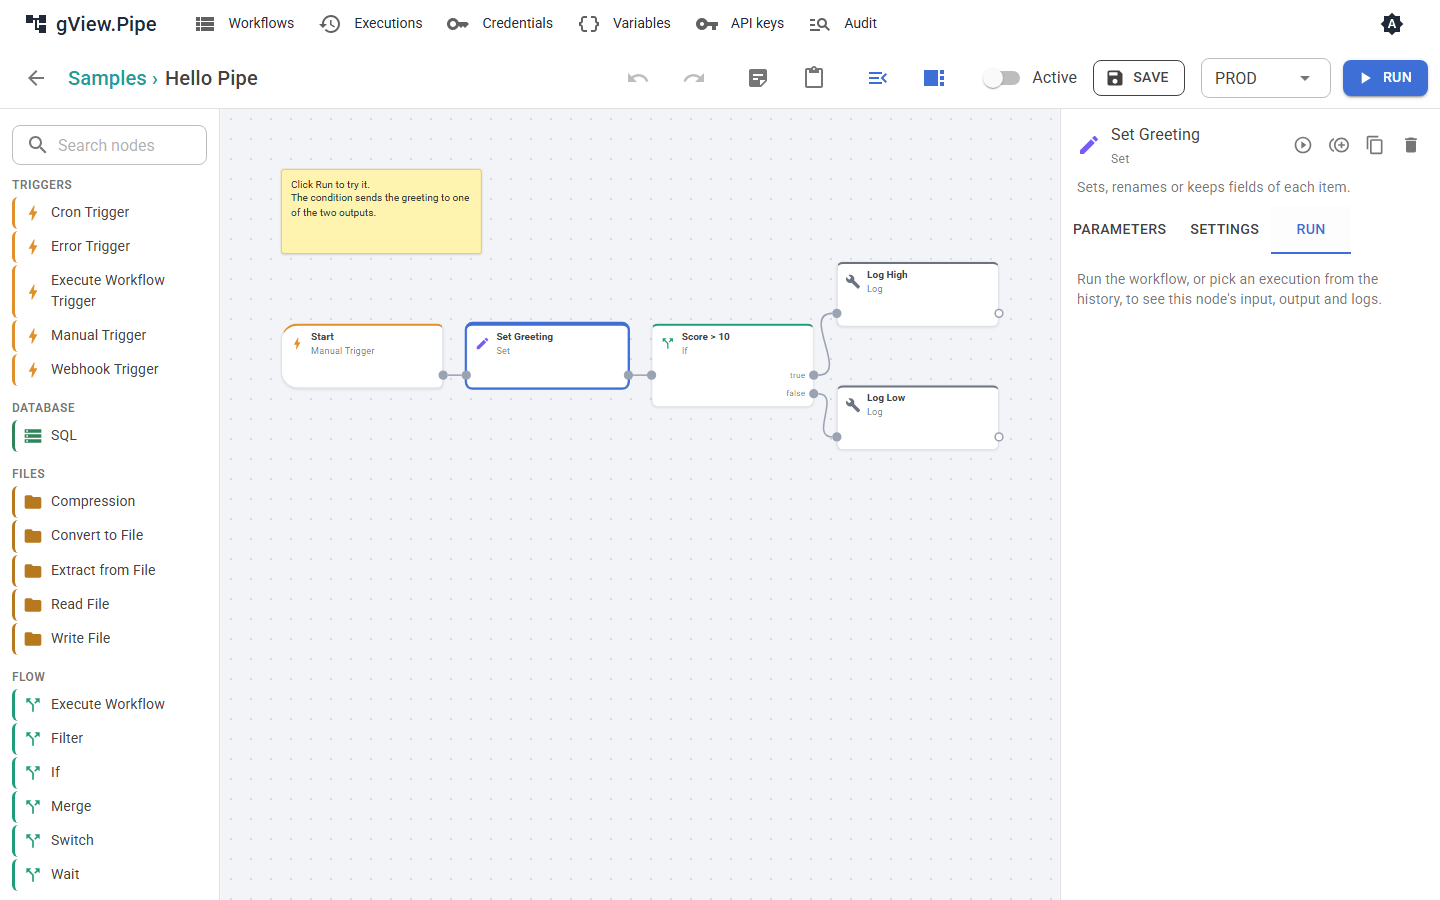
Click a node and open its Run tab to see what it received (Input), what it produced (Output) and what it logged (Logs):
Triggers need an active workflow
A manual run works at any time. Cron and Webhook triggers only fire while the workflow is Active: switch it on with the Active switch in the editor. See Triggers and webhooks.
What next
- Triggers and webhooks: start workflows from outside and answer the caller.
- Error handling: retries, error outputs and error workflows.